Why Borders Matter
Borders are an important part of any quilt. They help frame the quilt, make it a bit larger, and balance the overall design. Even a simple border can make a big difference!
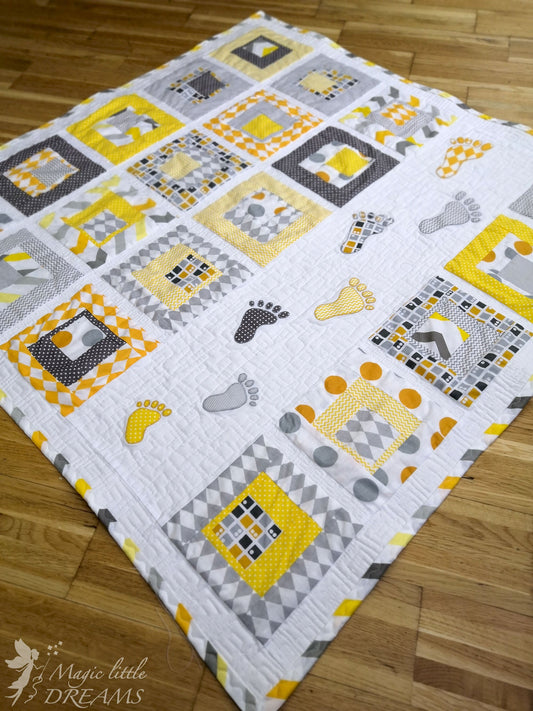
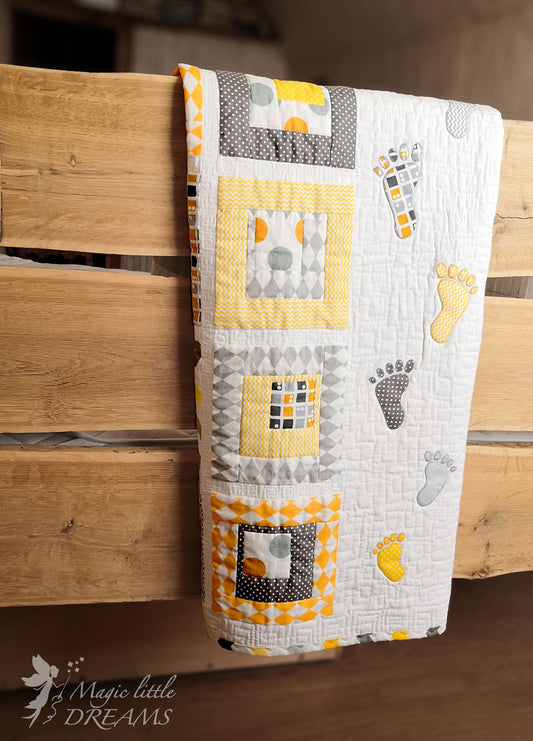
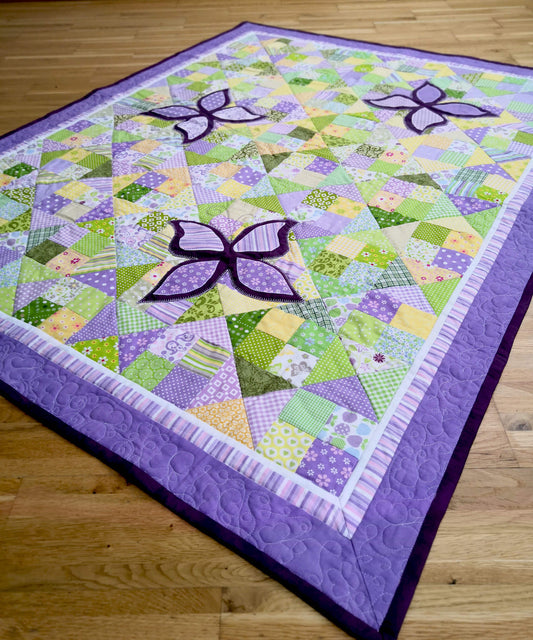
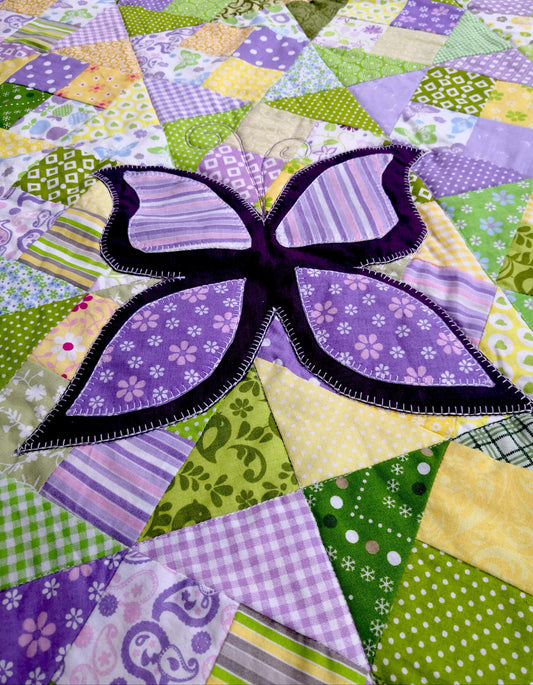
 In this post, I’ll show you how to add the simplest basic quilt border that is quick, easy, and perfect for beginners. I’ll use my Small Steps Quilt as an example.
What Is the Basic Quilt Border?
 The basic quilt border is a single fabric strip border joined with butted corners. You only need to cut four fabric strips for each edge of the quilt and join them using right angles with no overlapping or tricky piecing—just straight lines. This basic border method saves time and gives your quilt a polished, professional look without the need for advanced techniques.
How to Add a Basic Quilt Border
Here’s how to add the simplest border to your quilt:
1. Measure your quilt Measure both sides and the center, then average the three.
2. Cut Your Strips  Cut two strips for the sides, adding 0.5" extra for seam allowances. For the top and bottom, make two strips with an extra 0.5" plus double the width of the border strip.
3. Join Strips (If Needed)  If your quilt is larger than your fabric, join the strips with a straight seam and press the seam open.
4. Pin or Clip the Borders  Pin or clip the two side strips to the edges of your quilt top to keep everything in place.
5. Sew Sew the side borders with a ¼-inch seam allowance.
6. Press Press the seams to darker fabric.
7. Repeat with Top and Bottom Strips  Pin and stitch the top and bottom strips the same way, joining them at right angles with a straight seam. Make butted corners
Check out the video below for a more detailed, step-by-step guide!
Tips for Success
Here are a few quick tips to help you get the best results:
-
Check for Squareness: Before adding the border, make sure your quilt top is square.
-
Measure Carefully: Ensure your strips are the right length for your quilt sides.
-
Pin or Clip Well: Use plenty of pins or clips to avoid shifting while sewing.
-
Press Seams: Press seams open to reduce bulk and make the border lay flat.
-
Keep the Seam Allowance Consistent: A ¼-inch seam allowance helps everything fit perfectly.
What’s Next?
Now that you know how to add a simple quilt border, you can try other types of borders, like mitered or layered ones. Stay tuned for future posts where I’ll show you how to make those!
Give It a Try!
 I encourage you to add a simple border to your next quilt. It’s an easy way to give it a polished, finished look.
Feel free to share photos of your quilts or ask questions in the comments below or on social media.
Happy quilting!
Rugile
from Magic Little Dreams Quilts