If you’ve ever gotten to the end of a quilt and thought “Binding… already?!” — you’re not alone! For many quilters, binding feels like a chore, especially if you’re not a fan of hand stitching. The good news? You can get a neat, durable, and professional finish all by machine — no hand sewing required.

This is my go-to machine quilt binding method. It’s simple, beginner-friendly, and once you’ve tried it a couple of times, it becomes second nature.
Why Machine Binding?
Hand sewing can be relaxing, but it’s not for everyone. Machine binding is:
-
Faster – perfect for baby quilts, gifts, or when deadlines loom.
-
Durable – stronger seams that hold up through washing and daily use.
-
Beginner-friendly – no need for invisible stitches or endless hours with a needle and thread.
If you’ve struggled with binding before, this method is a real game-changer.
What You’ll Need

Here are the basics to get started:
-
General sewing room equipment (sewing machine, cutting instruments, iron, etc.)
-
Matching threads (one for the quilt top, one for the binding)
-
Clips
-
Fabric for binding
- Walking foot and a quarter inch foot make it easier!
Step 1: Make the Binding

-
Cut strips 3" wide.
-
Join them with diagonal seams, then press seams open to reduce bulk.
-
Fold the strip lengthwise, wrong sides together, and press.


👉 This creates a sturdy, easy-to-handle binding strip.
Step 2: Stitch Binding to the Back

-
Mark a quarter‑inch point on the back side of each corner.
-
Begin stitching in the middle of one quilt side, leaving a 12–15″ tail of binding.
-
Align the raw edges of the binding and quilt.
-
Stitch with a ¼″ seam allowance.
-
Stop stitching ¼″ before each corner at your marked point.
-
Fold the binding strip up at a 45° angle, then fold it down to continue along the next side — creating a neat, mitered corner.
- Continue stitching on the other side.


Stopping in time is one of the key factors for nice mitered corners, so be sure to mark that ¼″ point at the corners.
Step 3: Join the Ends

-
Leave an 18–20" gap between start and finish.
-
Overlap binding tails by about 4".
-
Mark diagonal folds on both ends.
-
Sew along the fold line, press seam open, and trim excess.
- Finish stitching the gap closed.
Making two diagonal folds in opposite directions makes it extremely simple to align them and stitch together. This simple folding trick ensures trouble‑free end joining.
Step 4: Fold Binding to the Front

-
Fold binding over to the front, covering your stitch line.
-
Clip in place — I like to leave the back slightly wider than the front, just 1mm.
-
At corners, fold neatly for a crisp diagonal miter.
Getting perfect mitered corners every time is one of the most dreaded steps in quilt binding — but knowing these two simple tricks makes it much easier: don’t stitch over the ¼″ mark, and tuck the back fold in before stitching.
Step 5: Topstitch from the Front

-
Stitch close to the folded edge (about 1–2mm away).
-
On the back, stitches should land 2–3mm inside the binding edge.
-
Slow down at corners, even turn the wheel by hand if needed.
Catching the binding on the back end of the quilt is tricky and requires practice, but patience and precision when clipping the binding fold to the front minimize the error immensely.
The Final Check
 Flip the quilt over and check the back. Small gaps? No problem — just restitch that section. Don’t worry if it’s not perfect at first; by your third quilt, you’ll be flying.
And yes, practice makes perfect :)
Bonus: Decorative Options
Not confident your stitching line will catch the binding on the back? Try a decorative stitch! Waves, zigzags, or playful motifs not only secure the binding but also add personality — and they’re much more forgiving of small deviations.


Just be sure your sewing machine can handle the bulk at the corners when stitching decorative stitches — and use the hand wheel if needed for extra control.
Troubleshooting
Like with every techneque, one needs to know some tricks to be sure to get it right, hefre i share my top mistakes to avoid when machine binding.
And yes, practice makes perfect! :)
Wrapping Up

And that’s it! With this method, you’ll finish your quilts faster, stronger, and without a single hand stitch. Whether you’re working on a baby quilt, a throw, or your next masterpiece, this technique is a reliable go-to.
Check out my full video tutorial here:
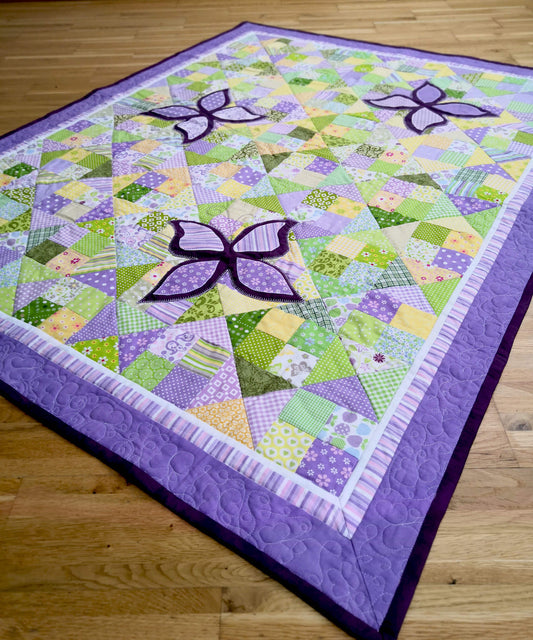
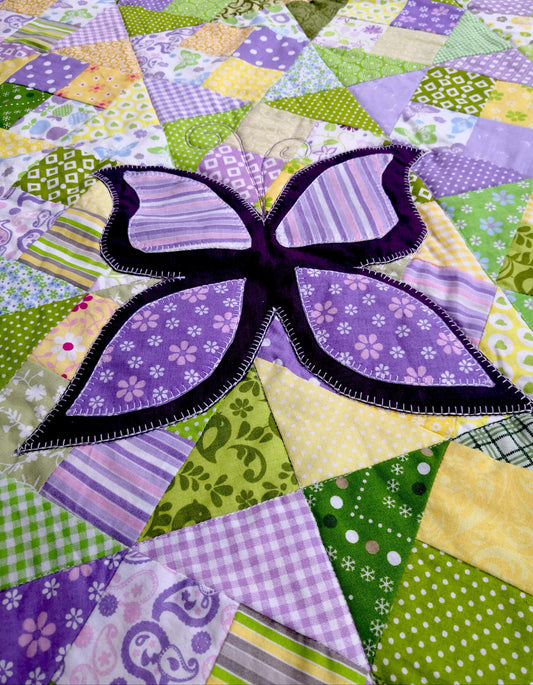
Want to try it on the same quilt I used in this tutorial?
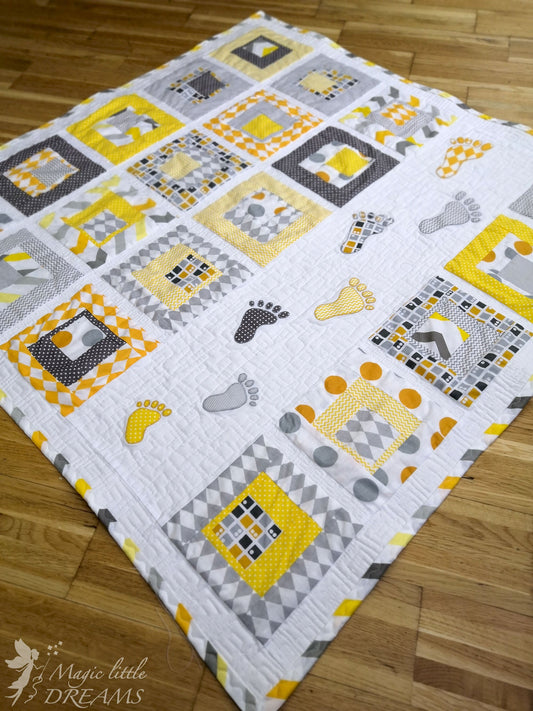
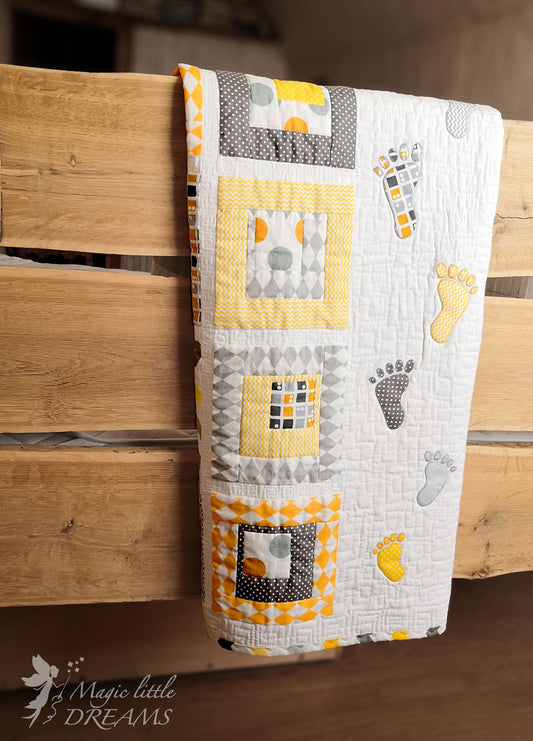
- Check out my Small Steps Baby Quilt Pattern here ↗
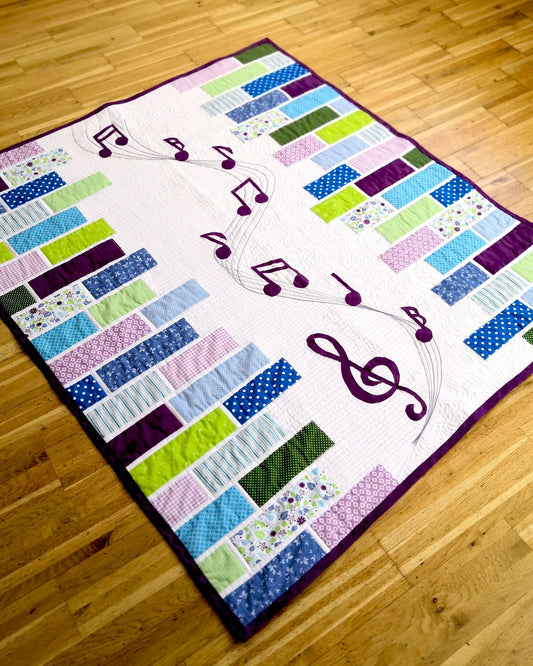
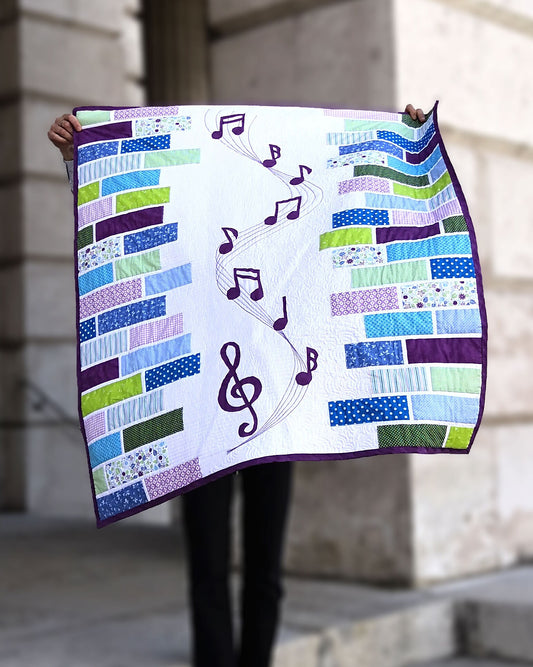
- Or browse more designs at Magic Little Dreams ↗
Happy quilting, and remember — binding doesn’t have to be scary. With the right method, it’s just another chance to add your magic touch.