Have you ever spotted a quilt with beautiful curved blocks and thought — I'd love to make that, but I'm not sure I'm ready for curved seams?
You're not alone. Curved piecing has a reputation for being tricky. But here's the thing: there's more than one way to make quarter circle blocks, and not all of them involve curved seams at all. In this post I'll walk you through four different methods, so you can pick the one that feels right for you and just start making.
And yes — there's a free quarter circle template waiting for you at the bottom of this post.
The four methods at a glance
TRADITIONAL CURVED PIECING
-
- Skill level: Intermediate
- Finish: Professional, hidden seam, best drape
- Speed: Slower
RAW EDGE FUSIBLE APPLIQUÉ
-
- Skill level: Beginner-friendly
- Finish: Casual, decorative stitch, raw edges, less drape
- Speed: Fastest
TURNED EDGE FUSIBLE APPLIQUÉ
-
- Skill level: Beginner–intermediate
- Finish: Clean, hidden edges, straight stitch, less drape
- Speed: Medium
TURNED EDGE APPLIQUÉ WITH INTERFACING
-
- Skill level: Intermediate
- Finish: Handmade, hidden edges, straight stitch, good drape
- Speed: Medium
Each method has its place. Let's go through them one by one.
 Method 1: Traditional curved piecing
This is the classic approach — and it gives you the cleanest, most precise pieced block with perfectly hidden seams.
It does take a little patience, but it's more approachable than it looks. A few things that help: cut your pieces slightly larger than needed so you have room to trim, work with larger blocks when you're starting out, and pin carefully at the center and edges before sewing.
Once pressed and trimmed, always measure from the curved seam — not the raw edge — to make sure your blocks will line up perfectly when joined.
Best for: quilters who want a neat, traditional finish and don't mind taking their time.
 Method 2: Raw edge fusible appliqué
No curved seams here. You simply fuse the quarter circle shape onto your background using fusible web, then stitch around the edge with a zigzag, blanket stitch, or satin stitch.
It's fast, it's beginner-friendly, and the results are charming. One tip: if you're using a light fabric on a darker background, layer a piece of white fabric beneath the fusible web first — this stops the background from showing through.
Keep in mind that the edges remain exposed with this method, so unless using satin stitch, it's better suited to wall hangings or decorative quilts than heavily used everyday quilts.
Best for: beginners, quick projects, art quilts, and wall hangings.
 Method 3: Turned edge fusible appliqué
This is a lovely middle ground between speed and durability. Like raw edge appliqué, you start with fusible web — but this time you fold the seam allowance to the back before fusing, so the raw edge is hidden.
The result is a neatly finished shape that you fuse in place and then secure with a straight stitch close to the edge. It looks almost invisible and very professional, without the complexity of sewing a curved seam.
One thing to watch: when pressing, keep the tip of the iron away from the exposed fusible web or it can stick to your iron.
Best for: quilters who want neatly enclosed raw edges without sewing curved seams.
 Method 4: Turned edge appliqué with interfacing
This method is a bit different — and a lovely one if you prefer to work without any fusible web. You stitch a circle onto interfacing, trim it, and then turn it inside out to reveal a smooth, soft edge. From there you cut it into four quarter circle blocks.
One thing that makes this method special: you typically make four identical blocks at once, which is satisfying and efficient. Accuracy matters at the stitching stage — small deviations from a perfect curve are part of the process — they give the block a lovely handmade quality.
Best for: quilters who prefer a softer, glue-free finish, and don't mind a cozy handmade look.
 Which method should you try first?
If you've never sewn curved blocks before, I'd suggest starting with raw edge fusible appliqué — it's the most forgiving and you'll have a finished block in no time. Once you're comfortable with the shapes, turned edge fusible appliqué is a natural next step that gives a more polished result with barely any extra effort.
If you're ready for the full curved seam experience, go for traditional curved piecing — just start with larger blocks and take it slowly.
 Free quarter circle template
Ready to try it yourself? Download the free quarter circle template below and work through all four methods — it's the best way to find out which one feels like yours.
→ Download the free quarter circle template
(The template is sized for a finished 4-inch block. Print at 100% — do not scale to fit.)
Quilt patterns that use quarter circle blocks
Once you've practised the technique, you might be wondering — what can I actually make with these blocks? Here are two patterns from my shop that use them.
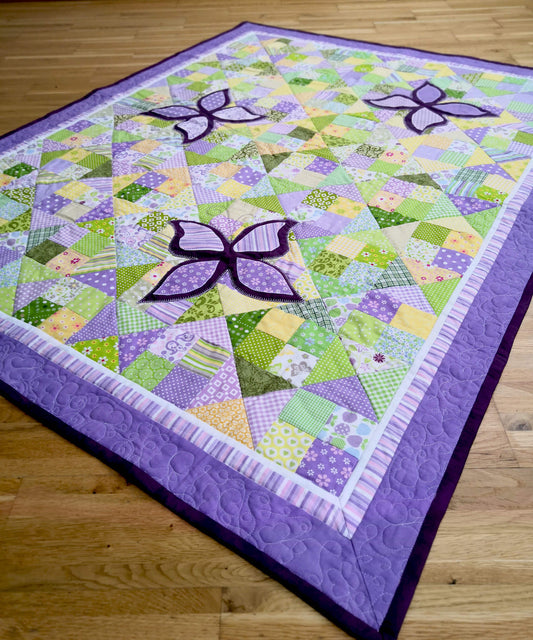
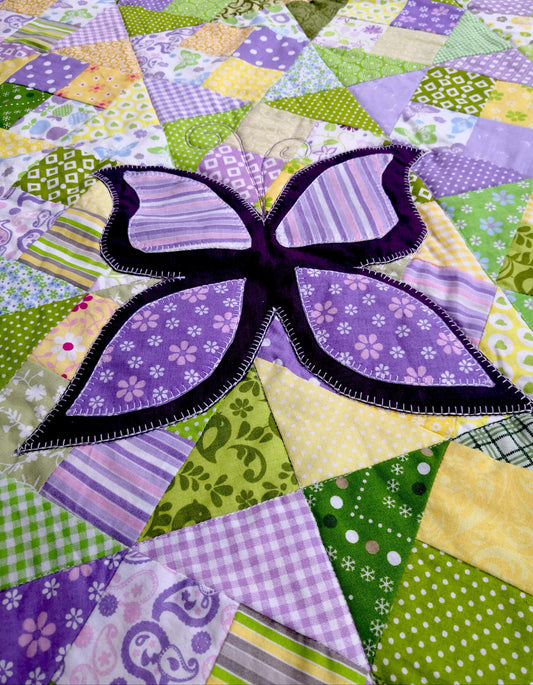
LADYBUG WONDERLAND

Ladybug Wonderland is a whimsical baby quilt full of character, and quarter circle blocks are at the heart of it. If you've just worked through the methods above and want a pattern to put the technique to work straight away, this is a lovely place to start.
→ Get the Ladybug Wonderland pattern
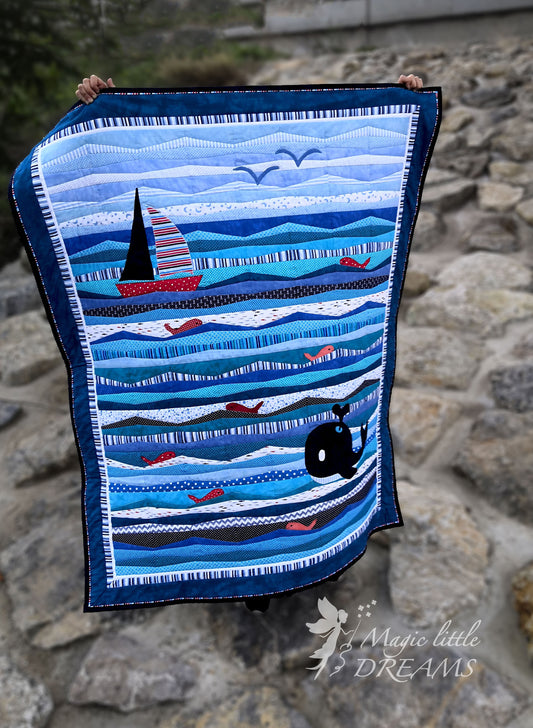
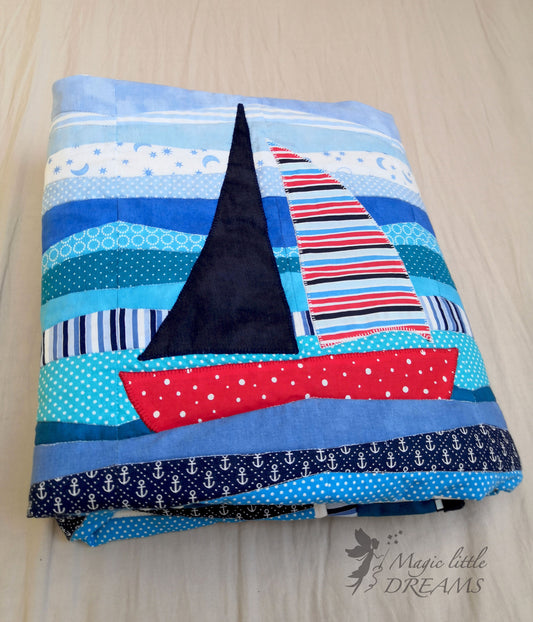
COMING SOON: CHILL & THRILL

My next pattern release is Chill & Thrill — a baby boy quilt with a playful penguin theme, photographed on a recent trip to Lapland. It has only a few quarter circle blocks, so it's a great project if you still need to build confidence.
The pattern is almost ready. If you'd like to be the first to know when it's available, join my newsletter here or keep an eye on the shop.
Now I'd love to hear from you — which method did you try, and which one worked best for you? Leave a comment below and let me know.
Happy Quilting