Hi everyone!
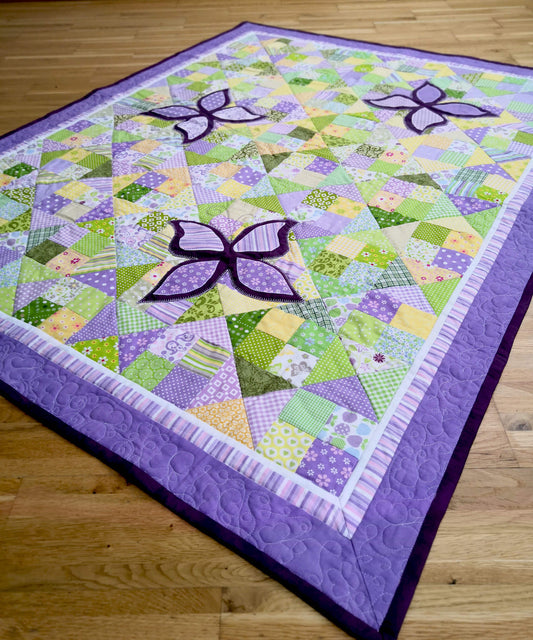
It’s early summer, and what a perfect time to cozy up with a delightful new project – especially a sweet baby quilt! This time, I’m excited to share the creation of my beloved 'Small Steps' quilt pattern with a fresh, vibrant twist: gorgeous purples and pinks.

Join me behind the scenes as I reveal my best tips and tricks for making this adorable quilt, complete with video demonstrations! Let's dive in!
Choosing Fabrics for Your 'Small Steps' Quilt: Pop with Contrast!
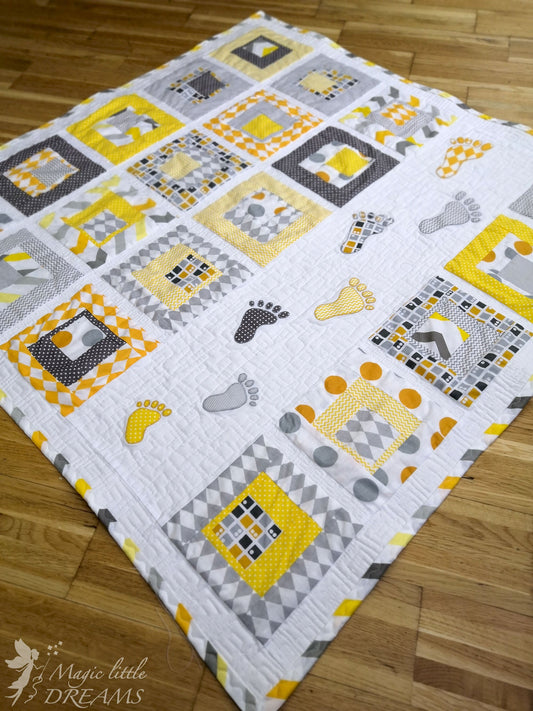
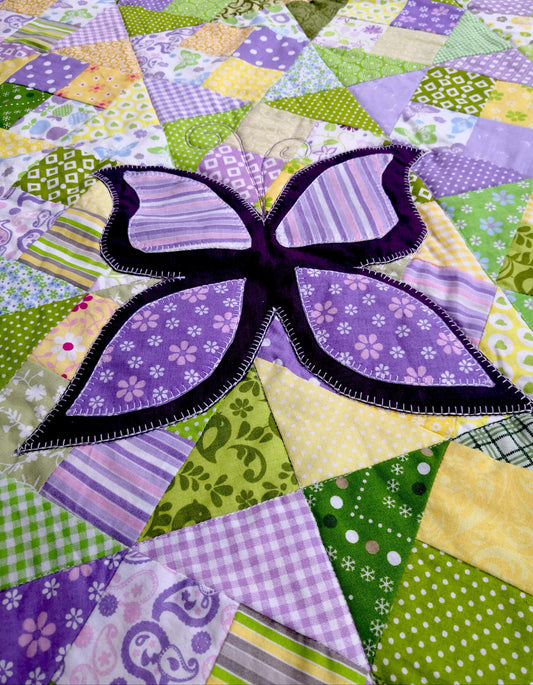
The 'Small Steps' quilt is cherished for its charmingly scrappy look, perfectly accented by those irresistibly cute baby foot appliqués. To ensure your patchwork truly pops and looks its absolute best, strategic fabric selection is key.
From my quilting experience, here’s my go-to strategy:
- Mix it up: Combine a blend of tiny and large prints for dynamic visual interest.
- Color Harmony: Choose at least two main colors for your quilt's primary palette.
- The Perfect Base: Always incorporate a white or light beige background color to make your chosen prints truly shine.

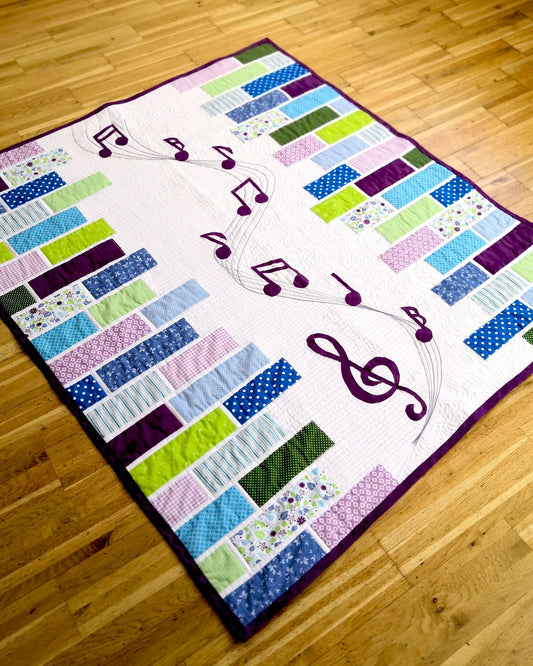
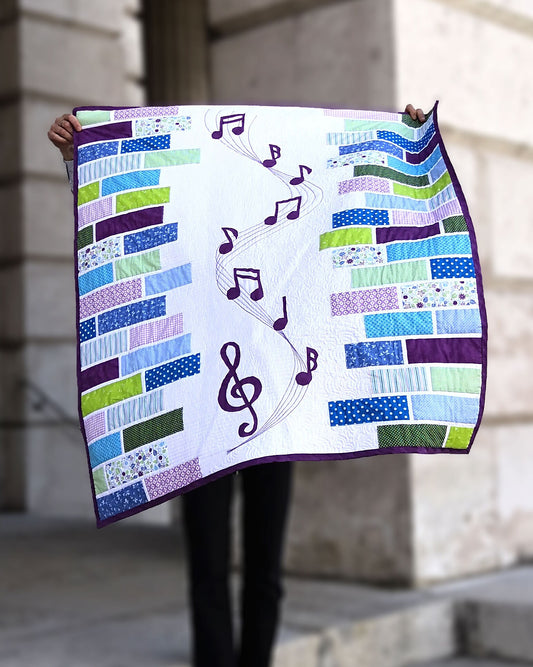
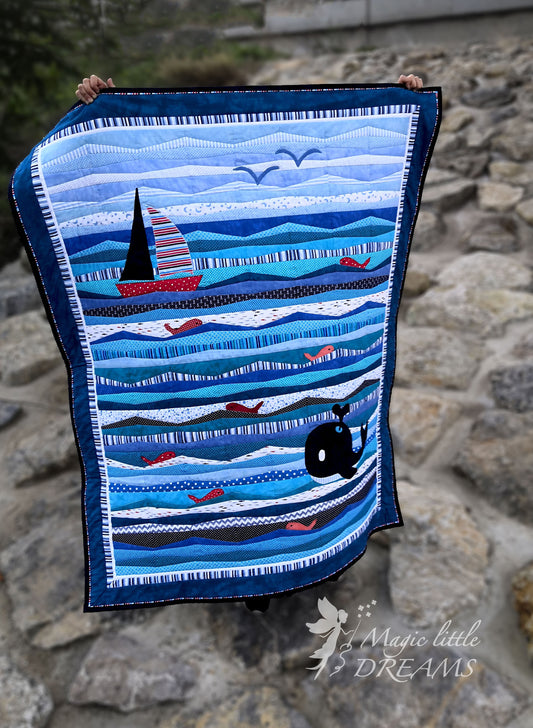
For this lovely girl's version, I used a cheerful mix of purples and pinks. You might remember my gender-neutral quilt with grays and yellows, or the boy's version in cool grays and teal – proving the 'Small Steps' pattern is incredibly versatile for any nursery!
Mastering Contrast in Scrappy Quilt Blocks
Working with scrappy fabrics and three-layer quilt blocks means maximizing contrast is essential for a stunning finish. To achieve that vibrant, eye-catching look in every single block, I follow a simple yet powerful rule:
- Sort your fabrics: Divide them clearly into Light, Medium, and Dark piles.
- Strategic Pairing: Then, for each block, ensure each of its three layers uses a fabric from a different category (Light, Medium, and Dark). This way, every single block will beautifully feature all three contrast levels!

This method guarantees every block stands out beautifully. Want to see this technique in action? Watch my detailed video tutorial right here:
Stitching Your Quilt Blocks: Find Your Quilting Rhythm!
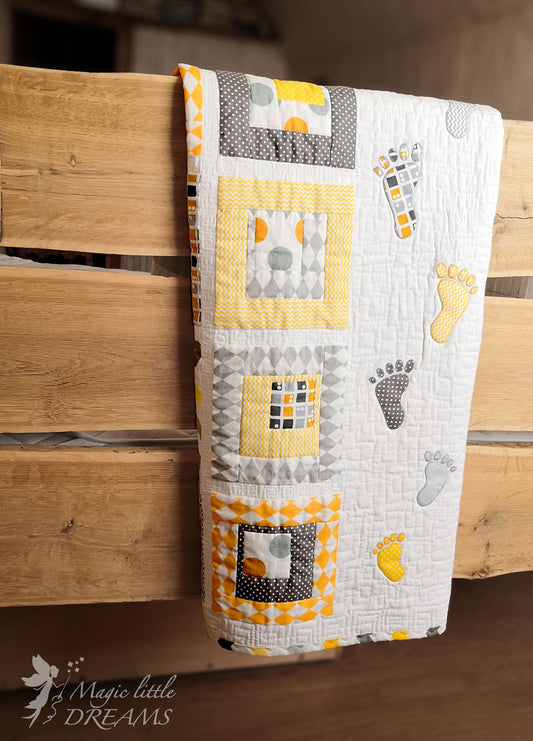
Building these 'Small Steps' quilt blocks is incredibly satisfying! You simply start from the center and slowly attach the outer layers one by one, much like constructing a classic log cabin block.
As I worked on piecing these blocks, I truly felt the inherent rhythm of quilt top piecing: Stitch, Press, Trim, Repeat! This rhythmic flow makes the entire process so much more enjoyable.
See how this rhythm comes to life when piecing 'Small Steps' blocks in this video – it's at least 1000 times faster than the actual work, but incredibly fun nonetheless! :)
Appliquéing Tiny Toes: Tips for Adorable Baby Feet!
Without a doubt, the greatest joy (and sometimes the biggest puzzle!) in making the 'Small Steps' quilt is appliquéing those tiny, tiny baby foot toes. My number one piece of advice here is simple: take your time. Patience is truly your best tool for creating these adorable little details.

I've put together a quick, focused video summarizing exactly how I tackle those tiny toes, sharing my best tips along the way. If I can make them look great, you can too!
Laying Out the Quilt Top: The Most Satisfying Step!
This is, by far, my absolute favorite step in every quilt-making journey. There's just something so deeply satisfying about arranging quilt blocks – and then rearranging them, and mixing, and changing them again and again! It’s the magical moment where your individual pieces truly transform into a cohesive, beautiful vision.
Watch me go through this meditative process and see the full pattern emerge in this captivating video:
It’s incredibly rewarding to see everything arranged and finally finish with a stunning quilt top!
Ready to Create Your Own 'Small Steps' Quilt?
I hope these tips and videos inspire you to embark on your own 'Small Steps' quilting adventure! It’s such a rewarding project to make, perfect for a baby shower gift or a treasured keepsake.
- Find the complete 'Small Steps' Quilt Pattern (including the Baby Girl version!) right here in my shop.
- The full finished quilt reveal on my blog, where you'll see this beautiful purple and pink version in all its glory! (coming soon)

Check out Simple Border and Easy Machine Binding tutorials
And for more seamless quilt finish, explore these tutorials:
Happy Quilting, and please reach out if you have any questions!
Best wishes,