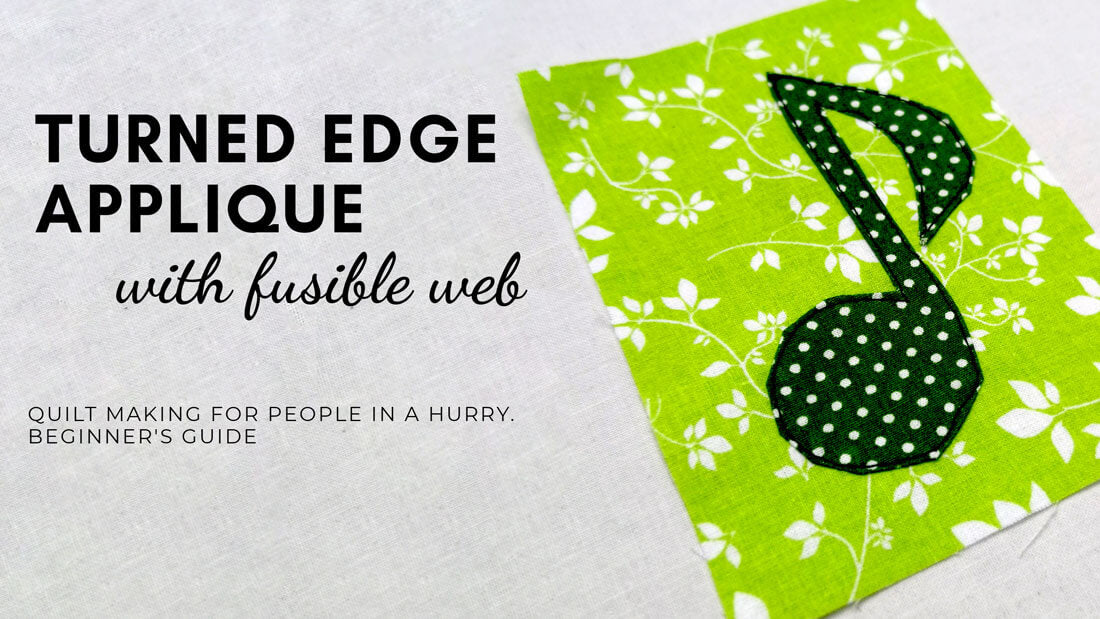
Turning appliqué edges with paper backed fusible web is a variation of the most widely used “freezer paper” method to turn the applique edges. If you are looking for a simpler applique technique that also utilizes fusible web, check out our raw edge applique tutorial.
RELATED PATTERNS
Fusible web, also known as an iron-on adhesive, is a mesh of a solid fabric glue that melts upon heating. This way it can be ironed on the fabric and attach two fabrics together. For applique, use a light weight paper backed fusible web, with one side covered with paper.
Using this method, one cuts out the appliqué shape from the paper backed fusible web, irons it down to the back side of the fabric and cuts it out with an additional seam allowance.
Then, one thoroughly folds the seam allowance over the paper template, removes the paper and sticks the seam allowance to the back of the applique with a hot iron.
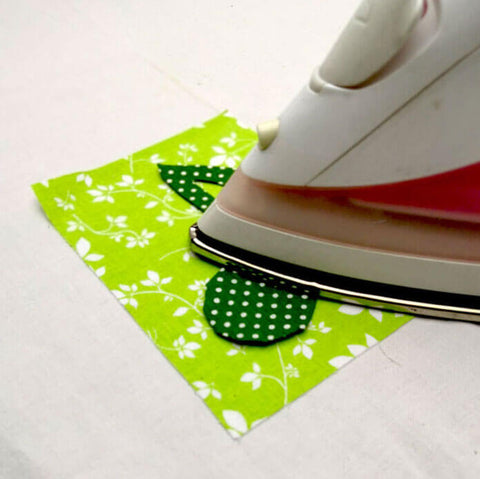
Finally, one irons the applique onto the background fabric and stitches it down.
This technique is tedious and slow, but if you are rigorous, it gives great results on almost any kind of shapes.
Alternative method to turn applique edges is using interfacing. You can read the tutorial for this method here.
For your convenience, all the essential steps are summarized in this infographic. Download it, print it and have it within reach whenever you need it!
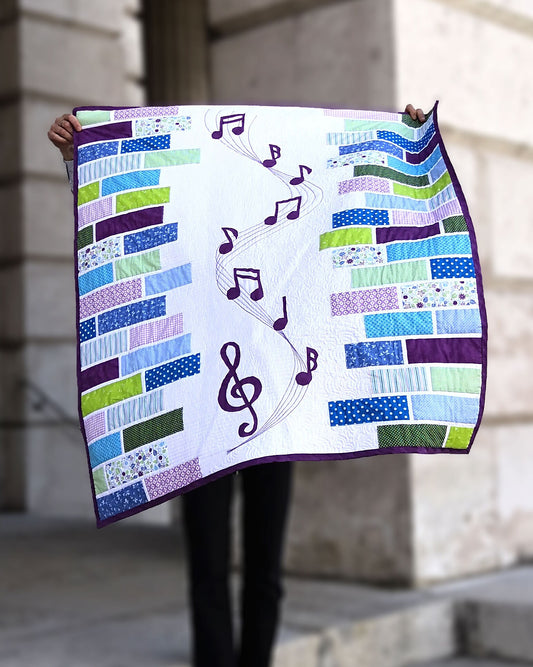
In this tutorial we will applique 4” (10 cm) tall quarter music note from “Music Note” applique pattern. This is a difficult shape, that has many different elements: convex and concave curves, narrow lines, deep inner points and sharp outer points. We will take a detail look into how to turn this tricky shape into a perfect applique. On top of this, this guide will give you plenty tips on how to avoid certain pitfalls.

YOU WILL NEED
MATERIALS
1. Printed pattern
2. Your favorite fabrics
3. Paper backed fusible web
4. Thread
EQUIPMENT
1. Sewing machine
2. Paper and fabric scissors
3. Iron and ironing surface
4. Pencil
HANDY TOOLS (A nice to have, but not essential. Not used in this tutorial):
1. Small iron
2. Applique tweezers
3. Appliquick rods

METHOD STEP BY STEP
1. Transfer the pattern
The first step in making an applique is to transfer the desired applique outline to the paper lining of the fusible web.

Print, scan or trace the applique pattern and cut out the right size design using paper scissors.

2. Attach fusible web
Once the applique outline is on the paper lining of the fusible web, attach it to the backside of the applique fabric.


3. Prepare the seam allowance
To successfully hide the raw fabric edges, cut out the applique shape and properly prepare the seam allowance before turning. The way to prepare the seam allowance depends on the shape of applique edge. Cut 1/4"-1/8" (4 - 6 mm) away from the edge of the fusible we to get the applique shape with the seam allowance.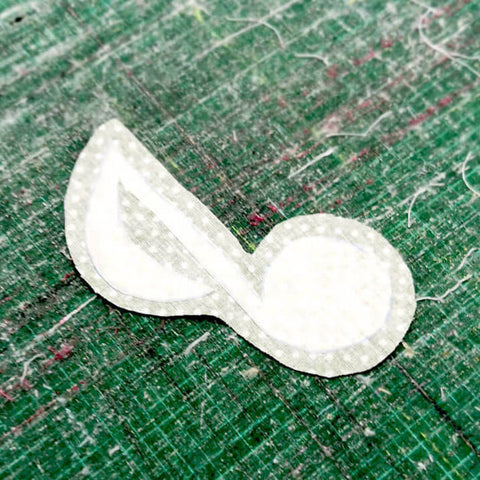
DEEP INNER POINTS
At the deep inner points, make a single cut into the seam allowance all the way to the paper lining. There are two such points in a music note: point where the stem connects to the note head and where it connects to the flag.
CONCAVE CURVES
At concave curves, such as the inner side of the music note flag, make multiple cuts into the seam allowance to permit smooth edge folding.

SHARP OUTER POINTS
Extremely sharp outer points, such as the bottom tip of the music note flag, are too narrow to accommodate the bulk of the folded seam allowance fabric. At such points, trim the seam allowance mimicking the angle of applique shape edges. This, however, will leave a few loose threads at the very tip of the shape in the finished applique piece. Do the same, if there is not enough seam allowance fabric to make a proper fold.
NARROW LINES
At narrow applique segments, such as the music note stem, make sure the seam allowance is narrower than the segment. Trim the seam allowance on both sides to 2/3 of the segment width.

4. Turn the edges
SHARP OUTER POINTS WITH TRIMMED SEAM ALLOWANCE
At the outer points, where seam allowance is trimmed, carefully fold the remaining seam allowance fabric over the paper lining. Aim to get as small opening at the very tip as possible. The raw fabric edge there will remain in a finished applique. Press with a hot iron or finger nails to reinforce the fold.
SHARP OUTER POINTS WITH NON-TRIMMED SEAM ALLOWANCE
At the outer points, where the seam allowance is not trimmed, fold it over in three steps.


CONCAVE CURVES & DEEP INNER POINTS
Fold the seam allowance over the paper lining and press with a hot iron or with fingernails. Make sure to fold each piece fully to avoid creating "steps". Aim to fold 1-2 threads beyond the cut to get an even folded edge with a smooth curve.

STRAIGHT LINES & CONVEX CURVES
At straight lines and convex curves, fold the seam allowance over the paper lining and press with a hot iron or fingernails to secure the fold. Be careful not to fold the paper lining, as this will create straight segments on convex curves.


5. Attach the Applique




Rugile from Magic Little Dreams


5 comments
This is the most descriptive, easy to follow instruction I have found yet! Thank you!
I’ve read your embroidery article. This is really an amazing content you have described complete things about embroidery. This is really special for beginners to develop their embroidery skill. We have online digitizer that can also fulfill your embroidery needs.
I’ve read your embroidery article. This is really an amazing content you have described complete things about embroidery. This is really special for beginners to develop their embroidery skill. We have online digitizer that can also fulfill your embroidery needs.
Dear Frances,
Thank you for your question.
Blind hem stitch makes a couple of straight stitches and then does a side stitch which bites into a nearby fabric. To use the narrow blind hem stitch to applique, choose an applique matching thread or a colorless nylon thread. Stitch just outside of the applique shape allowing little “bites” to attach the applique. This way your stitching will be almost invisible. Yet, it will create this second layer of applique with a little ruffled edge that reassembles hand stitching a lot.
Hope this helps.
Best wishes,
Rugile from Magic Little Dreams
I don’t understand how you use the blind hem stitch on a piece of appliqué – please explain further!!